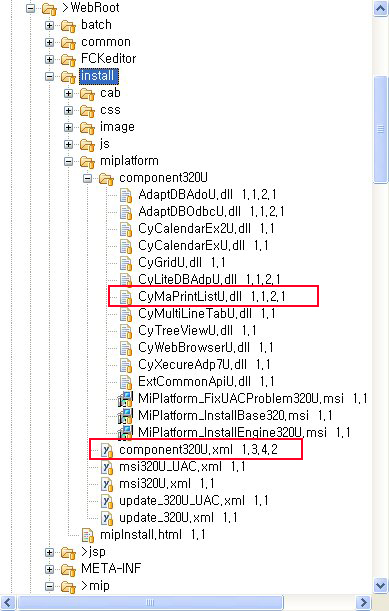
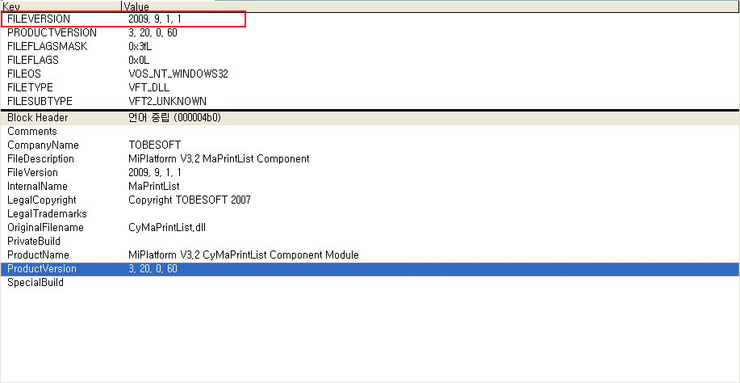
MiplatForm에서 특정 DLL 파일에 API를 사용하기 위해서는 DLL파일을 마이플랫폼에서 사용할 수 있게 맵핑해야 된다.
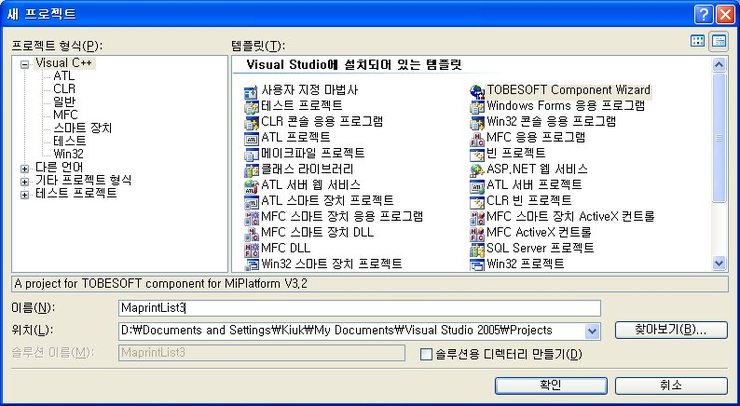
파일 -> 새로만들기 -> 프로젝트 생성을 선택하고
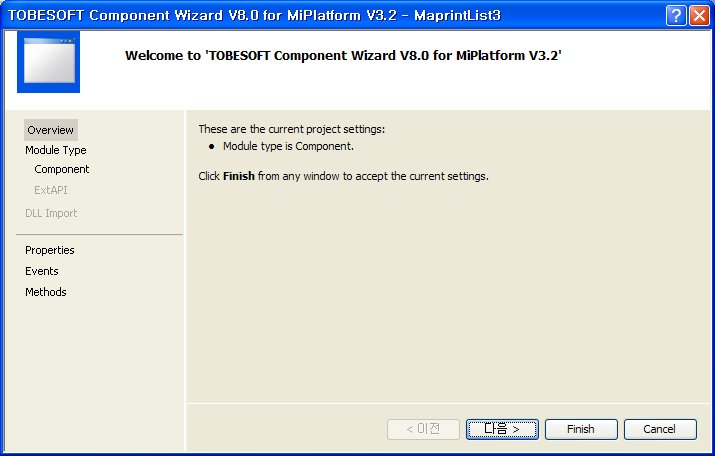
TobeSoftComponent Wizard를 선택하고 적당한 이름을 적어 프로젝트를 생성한다.
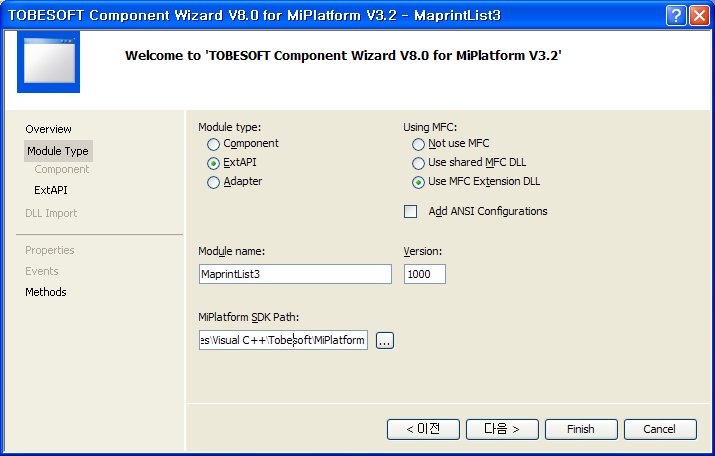
* Module type에서 ExtApi를 선택하고, Module name에는 API이름을 적는다.
다.
( Module name은 나중에 StartXML에 등록할 때 사용할 이름과 같게 하시면 편리합니다.)
* MiPlatform SDK Path를 Browse를 사용하거나 입력하여 설정합니다. MiPlatform SDK Path를 지정해야 정상적으로 컴파일이 가능합니다.
* MiPlatform SDK Path는 MiPlatform과 함께 제공되는 MiPlatformSDK의 Root Directory를 지
정하셔야 합니다. 실제 디렉토리 지정은 환경설정에서 지정했던
D:\Documents and Settings\Kiuk\My Documents\Visual Studio 2005\Templates\ProjectTemplates\Visual C++\Tobesoft\MiPlatform 상관없음
* Component가 ANSI로도 사용할 예정이라면, “Add ANSI Configurations” 앞의 CheckBox를
체크해 주십시오. MiPlatform 3.2는 UNICODE를 권장합니다.
* MFC를 사용하지 않고자 하면, Not use MFC를 선택합니다.MFC를 사용하더라도 MFC 확장
DLL 형태로 제작하지 않아야 된다면, Use shared MFC DLL을 선택합니다.
설정이 끝났으면 다음으로 넘어간다.
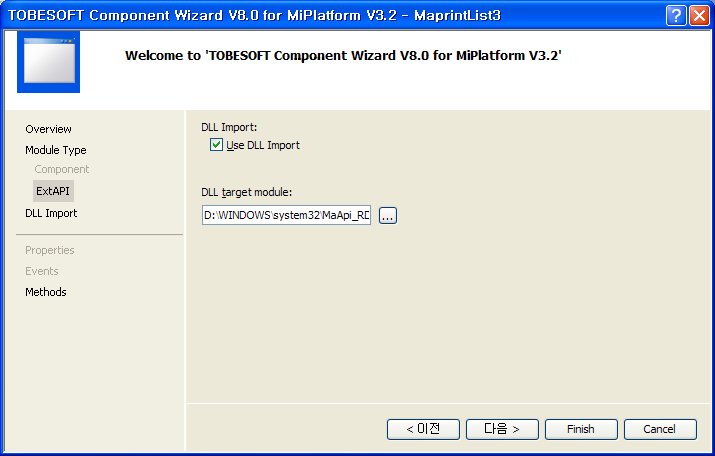
외부 Dll 파일을 import 하는 경우라면 Use DLL Import를 체크합니다. 그리고 DLL target
module에서 import 대상 파일을 선택합니다
현재 내가 작업할 D:\windos\system32\MaApi_RD.dll 을 선택해준다 .
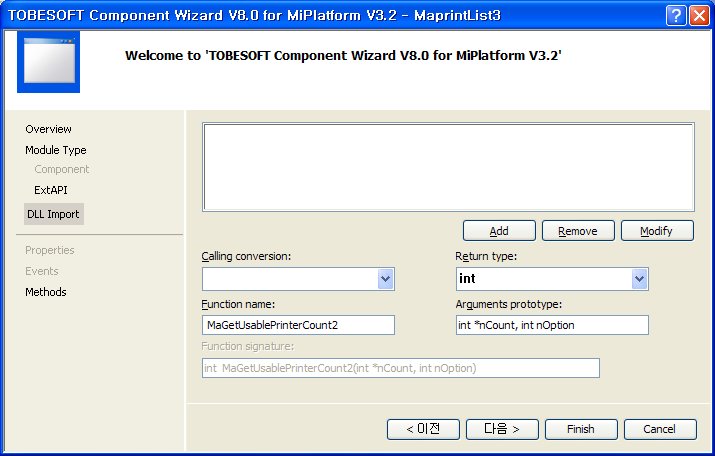
외부 Dll을 import하는 경우 해당 Dll에서 이용할 함수를 편하게 이용할 수 있도록 지정
할 수 있습니다. 해당 함수의 정확한 prototype을 입력해야 합니다. 각 입력값에 따라
Function signature를 통해 prototype의 형식을 가늠할 수 있습니다.
* 마크애니에서 지정한 출력프린터 리스트만 얻기위해서는
MaGetUsablePrinters2()
MaGetUsablePrinterCount2() 메서드를
MaPrtAPI.h 에 정의된 형태대로 추가해준다.
즉 ExtAPI 에서 외부 DLL 작업을 할경우 헤더파일이 필요하다. DLL에 정의된 함수를 사용하기 위해서라면
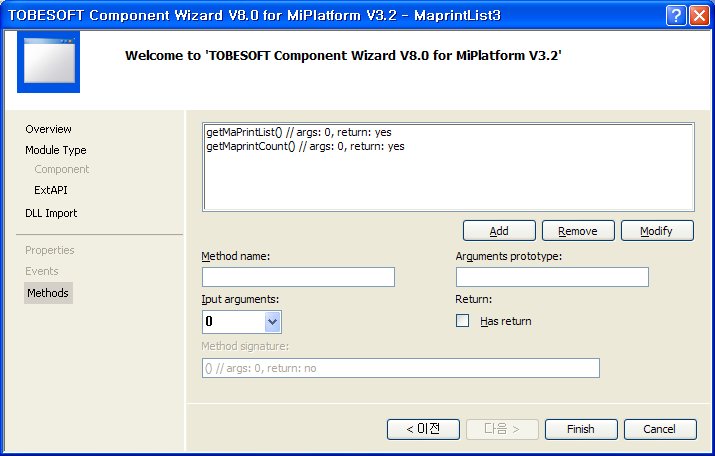
마이플랫폼에서 호출해서 사용할 API 함수 형태를 정의한다.
* Method name : method를 call할 때 사용하는 이름
* Arguments prototype : method에서 사용할 argument의 형태를 지정합니다.
* Input arguments : 입력인자의 개수를 검사할 때의 개수. 가변으로 할 때는 최소값을
입력한 후 소스코드에서 직접 고쳐야 합니다.
* Return : Return값의 존재여부.
* Method signature : PID에서 Method를 사용할 때 표시될, 메소드의 설명. 일반적으로
Method의 원형을 표시합니다. 주석을 제외한 부분이 보여집니다.
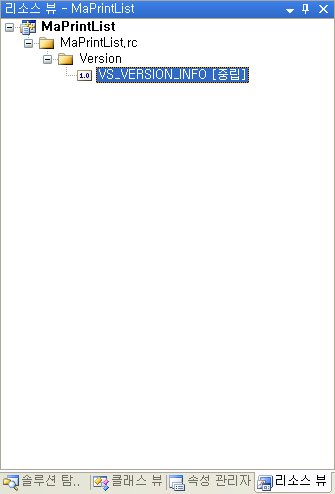
Finish 버튼을 눌러 프로젝트 생성을 완료한다.
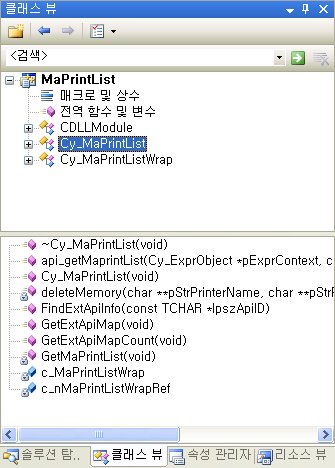
완성된 프로젝트 다음과 같이 생성된다.
* . API 구현하기
구현 해야될 Sample 소스 코드는 다음과 같다.
PrinterList.cpp
#include <stdio.h>
#include <windows.h>
#include "../MaApi_RD/MaPrtAPI.h"
int main()
{
int i = 1;
char **szModelTmpText, **szDrvTmpText;
int nCount = 0;
int ret = 0;
ret= MaGetUsablePrinterCount2(&nCount, 7); //Printer 갯수 구하기
printf("%d",nCount);
//memory 할당
szModelTmpText = (char**)malloc(sizeof(char*) * nCount);
szDrvTmpText = (char**)malloc(sizeof(char*) * nCount);
for(i=0; i<nCount; i++)
{
szModelTmpText[i] = (char*)malloc(sizeof(char) * MAX_PATH);
szDrvTmpText[i] = (char*)malloc(sizeof(char) * MAX_PATH);
memset(szModelTmpText[i], 0x00, sizeof(szModelTmpText[i]));
memset(szDrvTmpText[i], 0x00, sizeof(szDrvTmpText[i]));
}
//프린터이름/모델 배열 구하기
ret = MaGetUsablePrinters2(szModelTmpText, szDrvTmpText, &nCount, 7);
for(i=0; i<nCount; i++)
{
printf("%s",szModelTmpText[i]);
}
return ret;
}
Cy_MaPrintList.h
자동생성된 코드의 설명은 생략하겠다.
// Cy_MaPrintList.h
//
//////////////////////////////////////////////////////////////////////////
#pragma once
#include "ExtApi/Cy_ExtAPIService.h"
#include "Cy_MaPrintListWrap.h"
#include "stdio.h"
#include "string.h"
int nCount=0; //프린터개수
char **szModelTmpText;// 모델명
char** szDrvTmpText; // 드라이브명
int ret;
//클래스 내부에 있어야될 데이터가 외부에 전역으로 나와있다.
//클래스 내부에서 선언할경우 CY_RESULT Cy_MaPrintList::api_getMaprintList(Cy_ExprObject *pExprContext, const Cy_VariantList *pVars, Cy_Variant &RetVar)
내부에서 접근이 불가능하므로 부득이하게 외부에서 전역변수로 선언하여 사용하였다. (-_- 더좋은 대안이있다면 답변좀)
class Cy_MaPrintList :
public Cy_ExtAPIService
{
static Cy_MaPrintListWrap c_MaPrintListWrap;
static int c_nMaPrintListWrapRef;
public:
Cy_MaPrintList ();
virtual ~Cy_MaPrintList ();
// API Map
DECLARE_EXTAPI_MAP(Cy_MaPrintList);
// DECLARE_EXTAPI(apiname)
DECLARE_EXTAPI(getMaprintList); //API선언부 (자동생성된 코드임 )
private:
void deleteMemory(char** pStrPrinterName , char** pStrPrinterModel);
// 동적으로할당한 메모리를 해제
void GetMaPrintList(void);
//프린터 리스트 객체를 얻는 메서드
};
Cy_MaPrintList.cpp
// 자동으로 생성된 코드는 설명 생략
// Cy_MaPrintList.cpp : implementation of the Cy_MaPrintList class.
//
//////////////////////////////////////////////////////////////////////////
#include "stdafx.h"
#include "Cy_ErrorCode.h"
#include "Platform/Cy_Common.h"
#include "Script/Cy_ExprOp.h"
#include "Cy_MaPrintList.h"
DECLARE_SERVICE_AFXDLL_ENTRY(EXTAPI_MODULE_TYPE, Cy_MaPrintList, 1000)
//////////////////////////////////////////////////////////////////////
// Construction/Destruction
//////////////////////////////////////////////////////////////////////
BEGIN_CY_EXTAPI_MAP(Cy_MaPrintList)
// CY_EXTAPI_INFO(class, method_name, i, o , comment)
CY_EXTAPI_INFO(Cy_MaPrintList, getMaprintList, 0, 1, _T("getMaprintList()"))
END_CY_EXTAPI_MAP(Cy_MaPrintList)
Cy_MaPrintListWrap Cy_MaPrintList::c_MaPrintListWrap;
int Cy_MaPrintList::c_nMaPrintListWrapRef = 0;
Cy_MaPrintList::Cy_MaPrintList()
{
if( Cy_MaPrintList::c_nMaPrintListWrapRef == 0 )
Cy_MaPrintList::c_MaPrintListWrap.Init();
Cy_MaPrintList::c_nMaPrintListWrapRef ++;
this->GetMaPrintList(); //생성자 내부에서 프린트리스트를 얻어오는 메서드를 호출
}
Cy_MaPrintList::~Cy_MaPrintList()
{
this->deleteMemory(szModelTmpText,szDrvTmpText); //메모리 해제
Cy_MaPrintList::c_nMaPrintListWrapRef --;
if( Cy_MaPrintList::c_nMaPrintListWrapRef == 0 )
Cy_MaPrintList::c_MaPrintListWrap.UnInit();
ASSERT( Cy_MaPrintList::c_nMaPrintListWrapRef >= 0 );
}
//////////////////////////////////////////////////////////////////////////
// methods body
CY_RESULT Cy_MaPrintList::api_getMaprintList(Cy_ExprObject *pExprContext, const Cy_VariantList *pVars, Cy_Variant &RetVar)
{
// Check Argument Count
if( pVars == NULL || pVars->Count() != 0 )
{
if( pExprContext != NULL && pExprContext->IsSystemLogMode() )
{
Cy_Result err;
err.AddMsg( CY_WRONGARGUMENT, __FILE__, __LINE__, _T("[ExtAPI:MaPrintList]"), _T("getMaprintList"), NULL );
pExprContext->OnSystemError( err );
}
return CY_WRONGARGUMENT;
}
Cy_VariantList prnList;
for(int i=0; i<nCount;i++)
{
prnList.Add((Cy_Variant)szModelTmpText[i]);
}
RetVar.Set(prnList);
return CY_OK;
}
이상하게도 메소드내에서 클래스 내부변수나 객체의 접근이 불가능하다. -_-도통이놈의 wizard툴이란..
MIP에서 자세한 기술지원을 해주지않아서 더 알아 내지는 못해서 결과를 내는데 급급하였다.
실제로 내부함수에서 리턴되는 CY_OK란 API호출의 성공, 실패여부만을 리턴하기때문에 결과적으로 이놈을 사용해서 값을 넘겨줄수 없다.
Cy_Variant RetVar 를 사용하여 값을 리턴시켜줘야된다.
RetVar에 어떤행위(?)를하여 반환하고자하는 값들을 set해서 넘겨주면된다.
현재 프린터 리스트 배열을 넘겨야 하므로 Cy_VariantList 객체를 사용하였다.
자세한내용은 각 형의 .h헤더파일을 참조하기바란다.
Cy_VariantList 객체에 값을 담을경우 유니코드 인코딩이 자동으로 해주는것같다.
실제로 내부코드를 "aaaa", "가나다라" 로 넘길경우 인코딩에 문제가 발생한다.
// end methods body
//////////////////////////////////////////////////////////////////////////
//Ma_API를 사용하여 등록된 프린터 리스트만 얻어오는 함수
void Cy_MaPrintList::GetMaPrintList(void)
{
int i = 1;
ret= this->c_MaPrintListWrap.MaGetUsablePrinterCount2(&nCount, 7); //Printer 갯수 구하기
//memory 할당
szModelTmpText = (char**)malloc(sizeof(char*) * nCount);
szDrvTmpText = (char**)malloc(sizeof(char*) * nCount);
for(i=0; i<nCount; i++)
{
szModelTmpText[i] = (char*)malloc(sizeof(char) * MAX_PATH);
szDrvTmpText[i] = (char*)malloc(sizeof(char) * MAX_PATH);
memset(szModelTmpText[i], 0x00, sizeof(szModelTmpText[i]));
memset(szDrvTmpText[i], 0x00, sizeof(szDrvTmpText[i]));
}
//프린터이름/모델 배열 구하기
ret = this->c_MaPrintListWrap.MaGetUsablePrinters2(szModelTmpText, szDrvTmpText, &nCount, 7);
}
//메모리 해제 함수
void Cy_MaPrintList::deleteMemory(char** pStrPrinterName , char** pStrPrinterModel)
{
int i=0;
if(nCount>0)
{
for(i=0; i<nCount; i++)
{
delete szModelTmpText[i];
delete szDrvTmpText[i];
}
delete szModelTmpText;
delete szDrvTmpText;
}
}
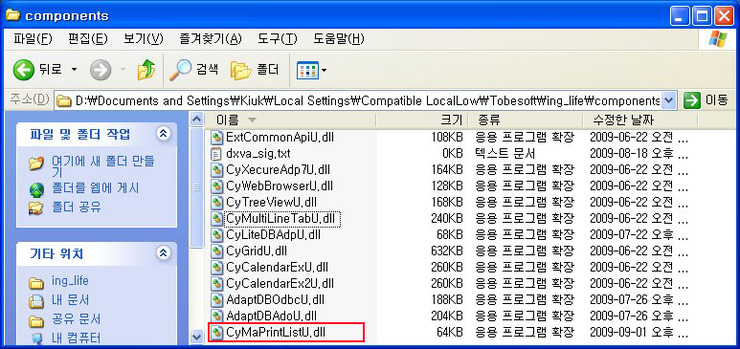
빌드하여 DLL 파일을 생성한다.
그담 제대로 됬는지 테스트가 필요하다.
ExtAPI 적용 및 테스트 하기
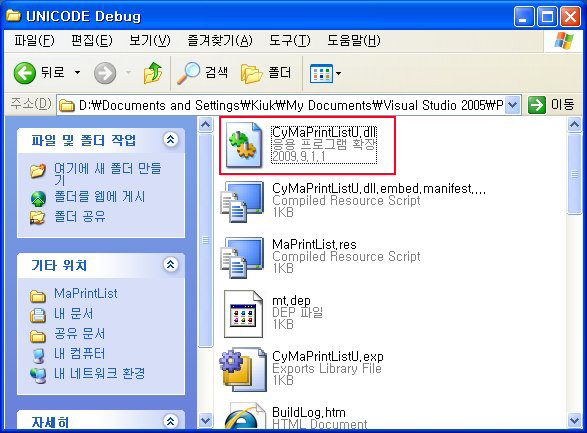
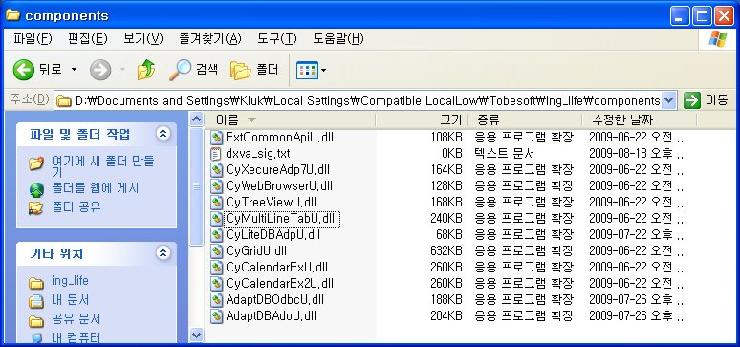
바로전에 작업한 DLL이 생성된폴더에서 DLL파일을 복사하여
D:\Documents and Settings\Kiuk\Local Settings\Application Data\TOBESOFT\MiPlatform320U\Component
디릭토리에 붙여넣기한다.
[마이플랫폼에서 EXTAPI 컴포넌트 추가하기]
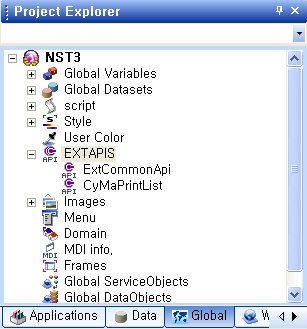
ProjectExplorer 에서
Global 탭을 선택하고
EXTAPIS 를 선택하고 더블클릭한다.
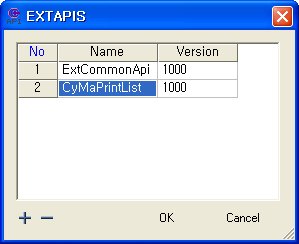
EXTAPI 이름을 적어준다. 이때 DLL 이름일아 맞지 않는다. 즉 최초로
프로젝트 생성시 입력한 API이름으로 적어준다.
마이플랫폼에서 test1폼을 생성하고 다음과 같이 코딩한다.
function test1_OnLoadCompleted(obj)
{
var printList = this.getMaprintList();
for (i = 0 ; i <printList.Length ; i++)
{
alert("prnList "+i+" "+ printList[i]);
}
}
this하고 점을 찍었을경우 메서드목록에 나오지않을 경우도 있다. 그냥
API 정의된대로 메서드명을 적어준다.
테스트 결과
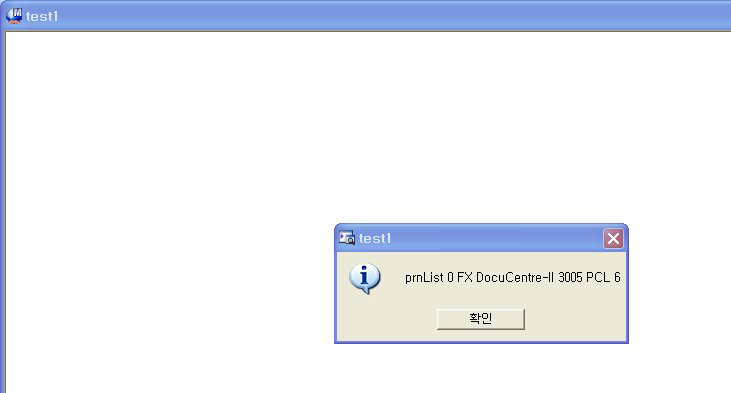
제대로 작동하는것을 알 수 있다.